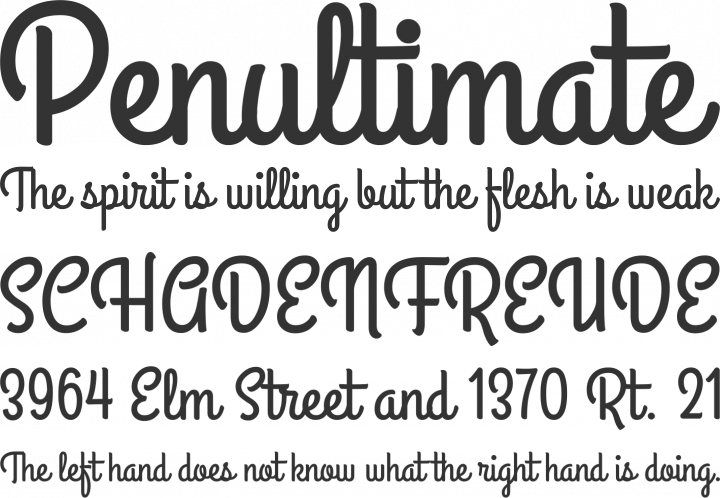
Installing a Font in your Ubuntu
So you wish to install a font in your Ubuntu, here's how:
1. Download the font. It will generally be a compressed file(.zip) containing many. otf and/or .ttf files. Extract the files in a folder in your Home directory.
2. Create a new directory in your system font directory.
If you have both .ttf and .otf files, then you need to execute both the commands given below. If you have either one of the files, then only execute the command corresponding to that file type.
For .ttf files:
For .otf files:
This will create a directory in your system font directory. The '-p' option with mkdir will create the parent directories as necessary and won't return an error in case a directory already exists.
3. Now copy the extracted files from your Home directory to the newly created directory(ies) in (2).
For .ttf files:
For .otf files:
4. Now update the font cache.
Trivia
Q. What do otf and ttf stand for?
A: OTF stands for Open Type Font and TTF stand for True Type Font. OpenType was built on its predecessor TrueType, retaining TrueType's basic structure and adding many intricate data structures for prescribing typographic behavior.
Have a great day! :D
 |
| Image Source: https://www.fontsquirrel.com/ |
1. Download the font. It will generally be a compressed file(.zip) containing many. otf and/or .ttf files. Extract the files in a folder in your Home directory.
2. Create a new directory in your system font directory.
If you have both .ttf and .otf files, then you need to execute both the commands given below. If you have either one of the files, then only execute the command corresponding to that file type.
For .ttf files:
sudo mkdir -p /usr/share/fonts/truetype/your-font-nameFor .otf files:
sudo mkdir -p /usr/share/fonts/opentype/your-font-nameThis will create a directory in your system font directory. The '-p' option with mkdir will create the parent directories as necessary and won't return an error in case a directory already exists.
3. Now copy the extracted files from your Home directory to the newly created directory(ies) in (2).
For .ttf files:
sudo cp ~/folder-containing-font-files/*.ttf /usr/share/fonts/truetype/your-font-nameFor .otf files:
sudo cp ~/folder-containing-font-files/*.otf /usr/share/fonts/opentype/your-font-name4. Now update the font cache.
sudo fc-cache -f -vNote: This will install the font for all users of the system. If you wish to install the font only for yourself(current user), then simply create a '.fonts' directory in your Home directory and copy the extracted font files to the '.fonts' directory as we do in Step 3. Finally update the font cache as we do in Step 4 but without the 'sudo'.
Trivia
Q. What do otf and ttf stand for?
A: OTF stands for Open Type Font and TTF stand for True Type Font. OpenType was built on its predecessor TrueType, retaining TrueType's basic structure and adding many intricate data structures for prescribing typographic behavior.
Have a great day! :D